


ISO 9606-1 welding test: how to prepare well
How does an ISO 9606-1 welding test work, what does the examiner look at and what can you do to pass first time? Eight practical tips.
What does a welding test actually test?
A welding test decides whether you will soon have a welding certificate in your pocket. The good news: with good preparation, your chances of passing are high. In this article you will read how a welding test to ISO 9606-1 works, what the examiner looks at and what you can do yourself to pass first time.
An ISO 9606-1 welding test is about your craftsmanship: can you make a good-quality weld following a welding procedure specification (WPS)? The examiner looks not only at the end result, but also at how you work. Do you follow the WPS, do you work neatly and is your process under control?
The test piece also determines the range of your certificate: the welding process, the type of weld (butt weld or fillet weld), plate or pipe, the thickness, the diameter and the welding position. So choose a test piece together with the examination organisation in advance that matches the work you actually do. Want to cover several diameters or thicknesses in one go? Then read our article on the combination welding certificate 141.
How the welding test works
- Preparation. You receive the (p)WPS, the material and the test piece. The examiner records your details and marks the test piece.
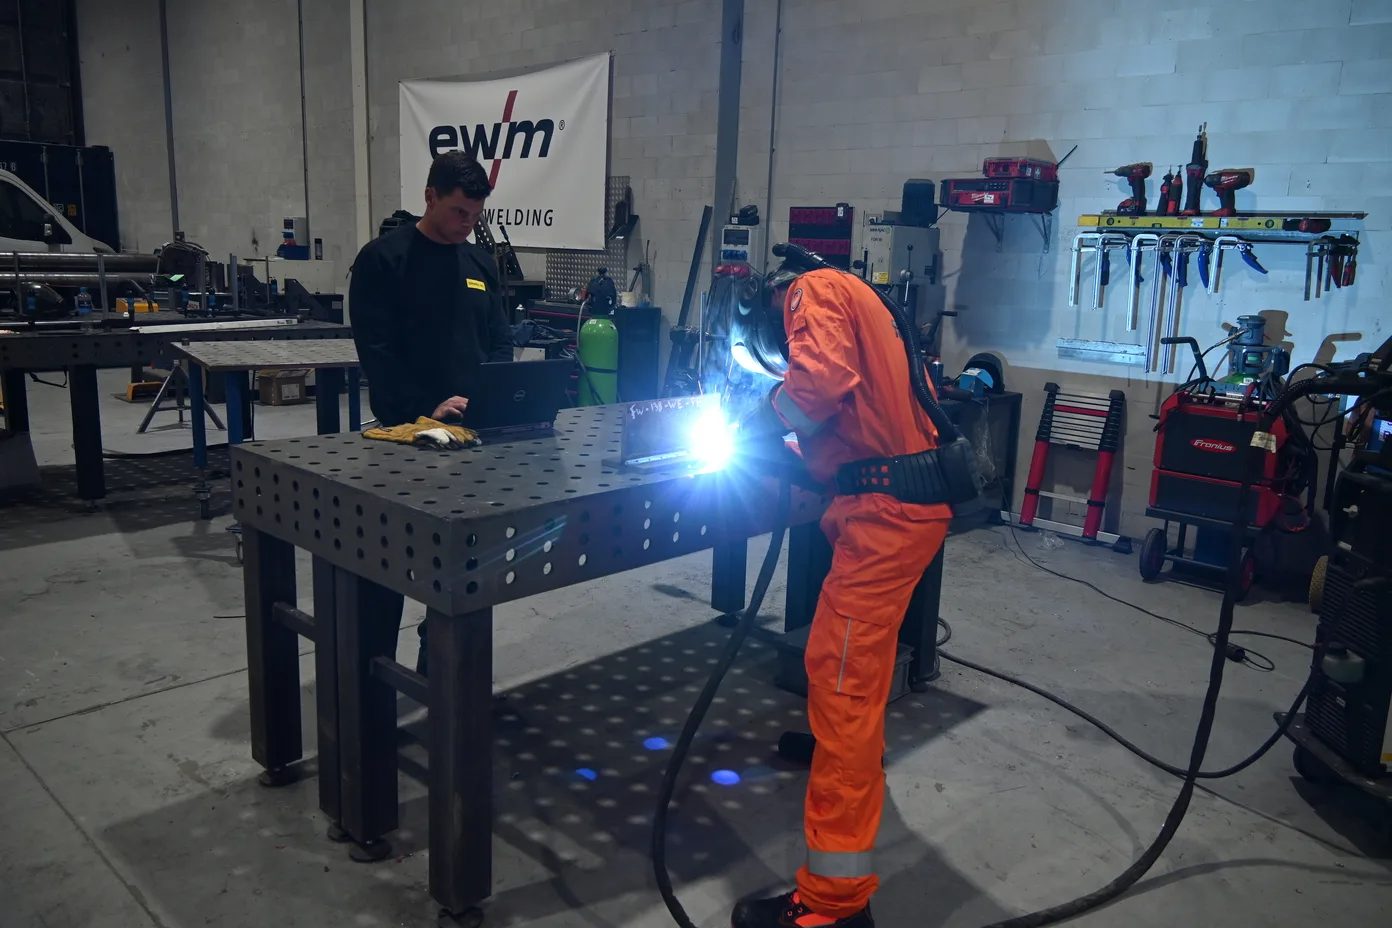
- Welding under supervision. The examiner is present while you weld. You weld to the WPS, in the agreed position.
- Stop and restart. The test piece must contain at least one stop and restart, in both the root run and the capping run. That spot is marked so it can be assessed later.
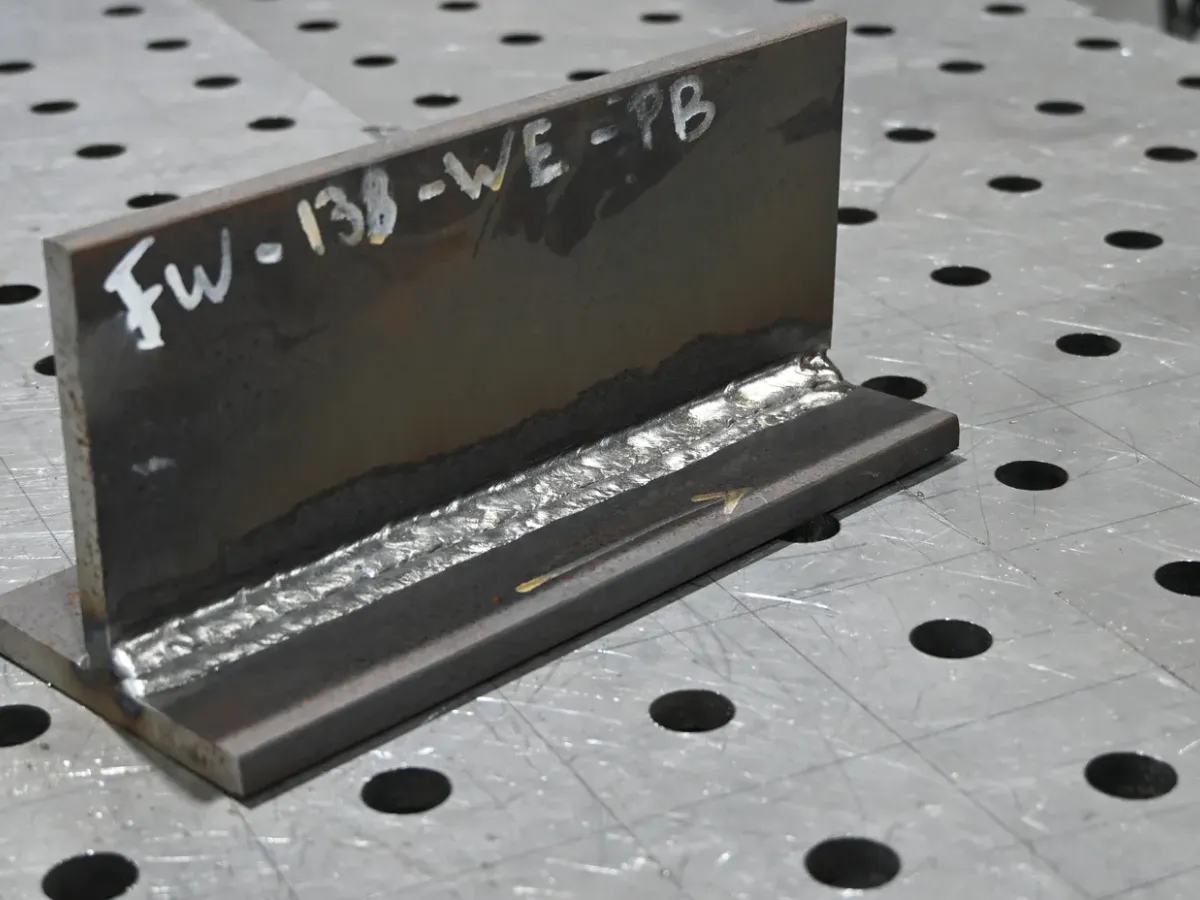
- Visual assessment. Every test piece is first assessed visually to ISO 17637.
- Further testing. Depending on the process and type of weld, this is followed by radiographic testing, a bend test or a fracture test, for example. For a fillet weld it is usually a fracture test or macro examination.
- Certificate. If everything meets the requirements, your certificate is issued.
What does the examiner look at?
The assessment is based on ISO 5817. For a welding test, quality level B, the strictest level, generally applies. For a few shape imperfections, such as excess weld metal or excessive convexity of a fillet weld, level C applies. Our article on the quality levels of ISO 5817 explains what these levels mean.
- Cracks and lack of fusion: not permitted.
- Root run: sufficient penetration, without lack of fusion or root undercut.
- Undercut and porosity: only within tight limits.
- Stop and restart: a good tie-in, without lack of fusion or a crater.
- Weld shape: a smooth transition to the parent metal and, for fillet welds, the correct throat thickness.
The examiner may also stop the test, for example if you clearly deviate from the WPS or if major repairs are needed.
8 tips to pass first time
- Practise the real test piece. Weld the same material, thickness and position beforehand. Vertical up (PF) and overhead (PE) in particular take practice.
- Read the WPS carefully. Current, voltage, filler metal, gas, preheating and run sequence: stick to the values it contains.
- Make sure the joint is clean. Remove mill scale, rust, oil and moisture. Check the bevel angle, root face and root gap.
- Tack properly. Strong, well-placed tack welds stop the gap from closing up.
- Pay extra attention to your root run. Many welding tests fail on insufficient penetration or lack of fusion in the root.
- Practise your stop and restart. Lightly grind the end of your bead and restart slightly before it, so the tie-in flows well.
- Clean between runs. Remove slag and oxides thoroughly, especially with stick welding and flux-cored wire.
- Work calmly. Do not let yourself be rushed. You may only grind away minor imperfections in the root and filler runs with the examiner’s permission; leave the capping run as it is.
After the welding test: keeping your certificate valid
Passed? Then the follow-up starts. An ISO 9606-1 certificate must be confirmed every 6 months and, depending on the revalidation method, reassessed after 2 or 3 years. Our article how long is your welding certificate valid? explains how this works. With the LAS-ID app you have your certificates on your phone and get a notification in time.

Marnix Sombroek
Specialist in welding coordination, weld inspection and welder qualifications
- IWT
- IWI-C
- VT-3
Marnix is your point of contact at Sombroek W.E. for questions about welding technology, inspection and qualifications. In this article he connects the requirements of the standard with the choices you make in the workshop. For advice on your situation, always discuss your work, certificate and project requirements.
Sources and accountability
- NEN-EN-ISO 9606-1: qualification testing of welders, fusion welding of steels.
- ISO 5817:2023: quality levels for imperfections in fusion-welded joints.
- TWI: comparison of EN 287-1 and ISO 9606-1.
This explanation is general and does not replace the standard. The applicable edition of the standard, your certificate and the project requirements are decisive.
The specialisms and qualifications mentioned correspond to the company information of Sombroek W.E. Source links marked ↗ open in a new tab.